How to Install WordPress on a Debian VPS

Learning how to install WordPress on your own virtual private server (VPS) has many benefits. The two primary benefits are it gives you complete control over your server and how your website runs. One of the problems I have ran into in the past is many hosting services only give you a small portion of an entire server. This server may host five other sites in addition to your own, and if one of them gets a lot of traffic your website could suffer. Additionally, if you want to run more than one site on your server, you can and you don’t have to pay extra for hosting. Only the size of your server. If you have not setup and secured your VPS, then please follow these instructions to before installing WordPress on your Debian VPS.
Install PHP and PHP Components
Background
PHP is back-end server programming language that functions as a means of communication between the front end web application, WordPress for us, and the back end server and database. There are other programming languages used in today’s modern web applications, but PHP is what powers WordPress and WordPress powers the majority of web sites. PHP may be one of the oldest languages in use today, it’s certainly not the most popular. However, it’s ubiquitous use means it’s going be around for a while.
Update Server and Add Repositories
Like all other Linux distributions, Debian uses trusted software repositories to allow users to easily install additional software onto their operating system. PHP can usually be installed using the respositories that come with Debian, but Debian usually lags behind with the latest updates. This isn’t a result of no one working on it, but Debian goes through extensive testing before releases. Debian is the most stable server software because of this practice.
Update Current System
sudo apt-get upgrade && apt-get update -ysudo rebootInstall PHP Repository
To get the latest version of PHP, the SURY APT Repository will need to be added to Debian. The latest PHP version is 8.x, so this will be the version this guide focuses on. After the base PHP software has been installed, the additional packages require and recommended for WordPress will be installed.
Install required dependencies:
sudo apt-get install -y lsb-release ca-certificates apt-transport-https software-properties-common gnupg2Add the PHP APT repository to your server:
echo "deb https://packages.sury.org/php/ $(lsb_release -sc) main" | sudo tee /etc/apt/sources.list.d/sury-php.listImport Sury Repository Key. Necessary to validate the original code author and not a compromised version:
wget -qO - https://packages.sury.org/php/apt.gpg | sudo apt-key add -Update to confirm repository has been added
sudo apt-get updateInstalling PHP 8
sudo apt-get install php8.0 -yConfirm the current version installed on your server:
php -vInstall PHP 8 Extensions
The following components are required for WordPress to work optimally. If a package is missing for your version of WordPress, then you can add individual packages, as needed.
sudo apt-get install libapache2-mod-php8.0 php8.0-common php8.0-mbstring php8.0-xmlrpc php8.0-soap php8.0-gd php8.0-xml php8.0-intl php8.0-mysql php8.0-cli php8.0-ldap php8.0-zip php8.0-imagick php8.0-curlIf you want to learn more about PHP and MySQL, check out my favorite reference book on the topics.
Install and Setup MySQL Database
The database is the backbone of your WordPress site. This is where all the data is housed about your posts, pages, users, email, etc, and without it your site would not function. Unless you are a MySQL guru, I suggest you copy and paste these commands into your terminal.
For thoroughness, the opensource, free version of MySQL is now called MariaDB.
Install and Configure MySQL (MariaDB)
sudo apt-get install mariadb-serverBy default the MySQL/MariaDB admin password will be the same as your system user password. To customize your database security, run the following command:
mysql_secure_installationEnter your root password, then change the password as prompted. You will see the following questions, and you should answer like shown below. Be sure to enter a new, complex root password.
Change the root password? y
New password: "Enter your new COMPLEX root password"
Remove anonymous users? y
Disallow root login remotely? y
Remove test database and access to it? y
Reload privilege tables now? y
To test access to your database, use the following commands in your terminal:
mysql -u root -pEnter your password (the one you just made up) when prompted. Once you’re logged in, type the following and hit the Enter key. You should see a MariaDB on the screen.
show databases;Configure MySQL for WordPress
Now that you are signed in we need to create WordPress user and password for the site. Like before, you need to copy and paste because these are easy to mess up and you can get a lot of errors. Change out the userpassword with your password, and be sure to LEAVE the single quotes! This username and password should be unique for this site. You can use the ‘wpuser’, but I recommend using something unique and complex like ‘kd84j%kd’ or a username that is not tied to you somehow.
CREATE USER 'wpuser'@'localhost' IDENTIFIED BY 'your unique password';Now create the WordPress Database. Similar to above, you do not have to use the default ‘wp_wordpress’ for the database. Anything is fine like ‘wp_myblog’ or ‘wp_mysite’.
CREATE DATABASE wp_wordpress;Finally, grant your user all permissions on the database. This will allow full read/write privileges for your WordPress database.
GRANT ALL ON `wp_wordpress`.* TO `wpuser`@`localhost`;Flush your privileges and exit.
FLUSH PRIVILEGES;exit;Setup phpmyadmin
Your LAMP server is now set up! This step is optional. With the open-source phpMyAdmin interface, you can manage your databases more easily via a web interface. This prevents the need to logging into your server and your database to make changes. The web interface is more user friendly and just as powerful.
To install it, enter the following command:
sudo apt-get install phpmyadminFrom the choices offered, select a web server to automatically configure to run phpMyAdmin:
tick ()apache2, then Enter
Accept help with configuration, then enter a MySQL admin password. This is a separate password just for the phpmyadmin application.
Configure Apache to Use phpmyadmin
To access the phpmyadmin management interface, you need to finish configuring your Apache server. To do this, we will edit the Apache configuration file to add an Include command.
sudo nano /etc/apache2/apache2.confScroll down the configuration file until you reach the bottom of the the file. Add the following lines of code:
# Include phpMyAdminBe sure to include the ‘#’ in the above line. The ‘#’ is a comment marker and the server will not read it as executable. After the commented line above, enter this command below it.
Include /etc/phpmyadmin/apache.confTo exit nano editor and save your work, hold CTRL and press X. Type Y to save your work, and hit Enter to save the file under the current name.
Then restart Apache server using the following:
sudo systemctl apache2 reloadConfigure MySQL to Use phpmyadmin
To log into the phpmyadmin web-portal, we need to create a user with admin rights. Log into the MySQL database by using the following:
mysql -u root -pEnter the password for the root user and press enter. Note: This is the mysql root password and not the system root password. Once logged in, copy and paste the following into the terminal. After pasting it into the terminal, change the my_user and my_password with a unique one, The single quotes MUST be left around the user and password! Press enter to submit to the database.
CREATE USER 'phpmyadmin_user'@'localhost' IDENTIFIED BY 'phpmyadmin_password';The phpmyadmin user requires root access to all databases in held in the MySQL installation.
GRANT ALL PRIVILEGES ON * . * TO 'phpmyadmin_user'@'localhost';Flush privileges and exit.
FLUSH PRIVILEGES;
exit;
Test Installation
Finally, to test the installation of phpmyadmin, navigate to the web servers URL similar to the following:
https://www.yourwebserver.com/phpmyadmin
If everything was setup correctly, the phpmyadmin login screen should appear. Enter the username and password just setup and login.
Keep in mind installation of phpmyadmin is not a requirement for WordPress to run, it’s simply a way to manage the back-end database without looking at the command terminal.
Install and Configure WordPress
Finally, the time has come to install WordPress on the server. Provided all installation went well to this point, this should be the easiest part of the entire process. However, it still requires doing some command line gymnastics. Log into your VPS for the next steps.
Pre-Configuration on Apache
To get ahead of any kind of issues with Apache and WordPress talking, the following steps will help alleviate any issues post installation.
Similar to the steps above with phpmyadmin, use nano to navigate to open the Apache configuration file for edits:
sudo nano /etc/apache2/apache2.confScroll down the configuration file until you see the following:
<Directory /var/www/ >
             Options Indexes FollowSymLinks
             AllowOverride none
             Require all granted
</Directory>
On the AllowOverride line change the none to All. The configuration lines should look like this now:
<Directory /var/www/>
             Options Indexes FollowSymLinks
             AllowOverride All
             Require all granted
</Directory>
Downloading WordPress
Navigate to the Apache web server root folder.
cd /var/wwwCreate a downloads folder for WordPress.
mkdir downloadsChange directories to be in the downloads folder.
cd downloadsDownload and prepare WordPress for installation.
wget https://wordpress.org/latest.tar.gzThe downloaded WordPress file is compressed, so it will need to be extracted before installation.
tar xpf latest.tar.gzThis will put a folder named WordPress into the downloads folder. This contains the entire WordPress install. Type these two commands into terminal one at a time.
This will remove the generic Apache files and replace them with the WordPress installation setup files
rm -rf /var/www/html
cp -r wordpress /var/www/html
Now the proper permissions must be given for Apache and WordPress to properly interact. You These can be typed out, but I still recommend the copy and paste method best. Less likely to make a mistake. Trust me, I’ve done it. Do one command at a time and wait for a new command prompt before going to the next one.
sudo chown -R www-data:www-data /var/www/htmlsudo find /var/www/html -type d -exec chmod 755 {} \;sudo find /var/www/html -type f -exec chmod 644 {} \;Begin WordPress Installation
Thankfully, this part of the setup is all done through the web browser. The following items are needed to install: database username, wp_user, and password, and a new WordPress user account will be made during the installation.
Open up a web browser and navigate to the domain name or IP address of the server.
If all goes well, the WordPress installation page will appear with the option to select the language.
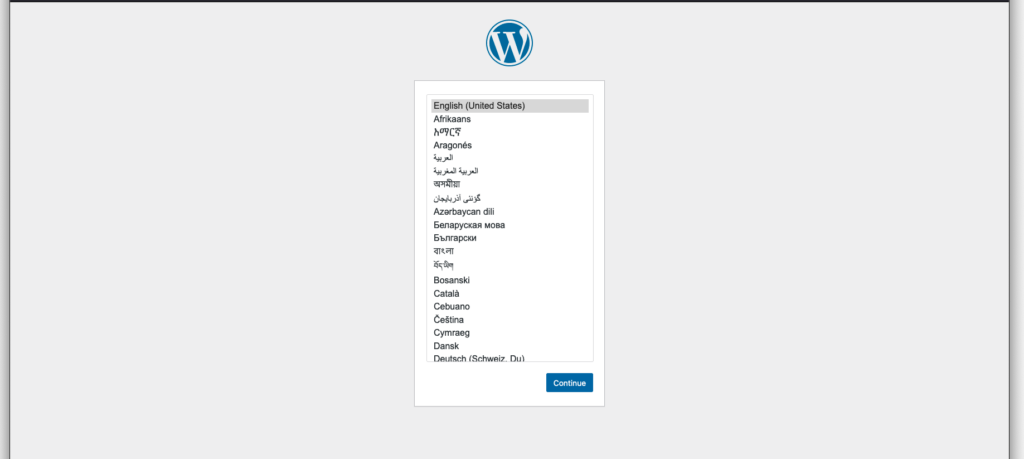
Select the desired language and click continue.
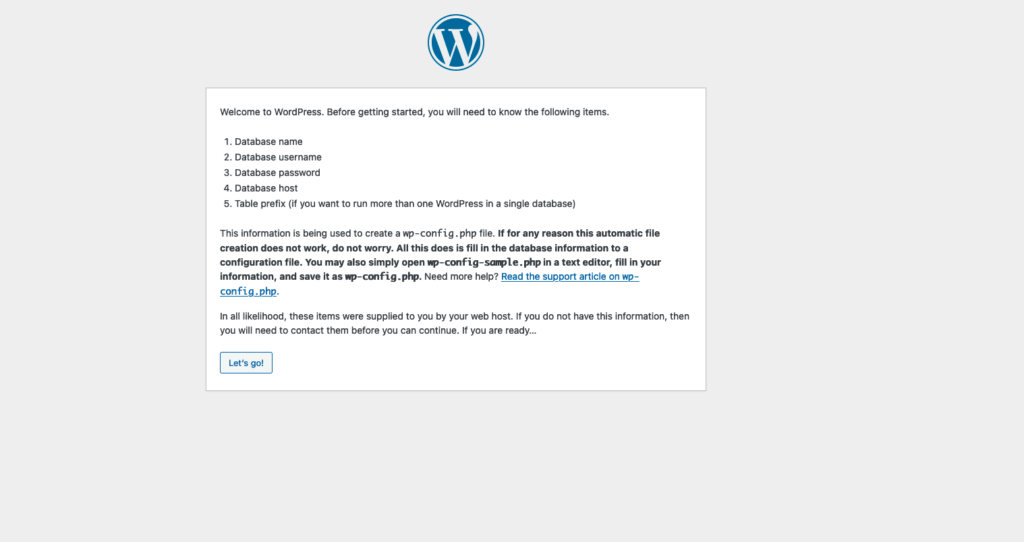
This screen should appear. Click the Let’s Go button.
Next enter the following items into the text boxes. This is the information setup in the MySQL section above.
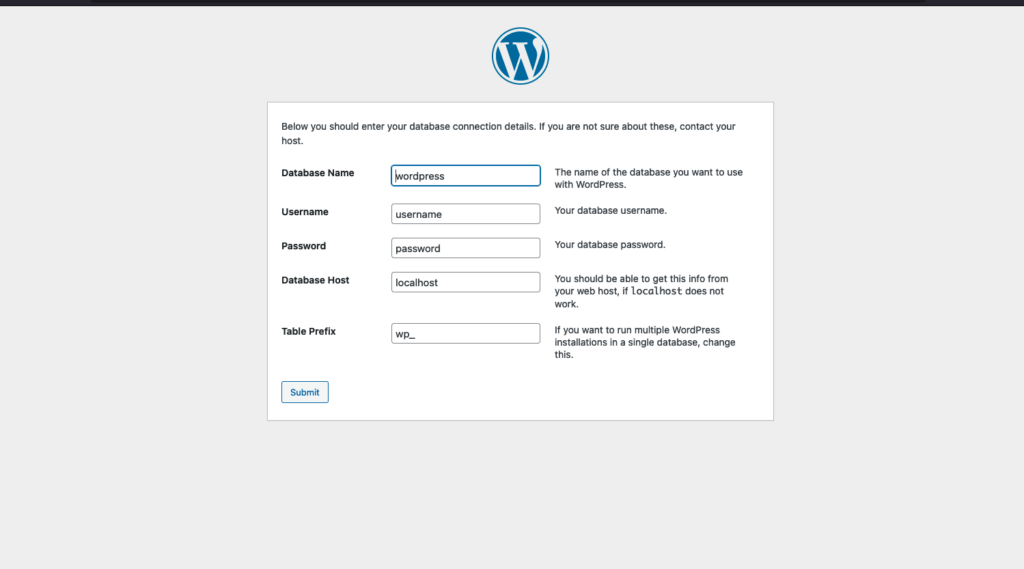
Once everything has been entered, press Submit to connect to the database.
Create an administrative user to log into the website WordPress Dashboard after installation. I do not recommend using ‘admin’ or anything similar. The admin user should be unique to this site alone.

After all the text boxes have been filled out, click Install WordPress.
Congratulations! WordPress is now installed on the web server and design and blogging can begin!!
The final step is to log into your website and see the WordPress dashboard for your website/blog. In the web browser, type in the domainname/wp-admin to reach the login screen.
http://www.mypersonalwebsite.com/wp-admin
Enter the username and password that was just created and click login.
Learn more about WordPress.
1 Comment
Add Comment